11.19.2013
Channeled my New York 1920's past life


10.29.2013

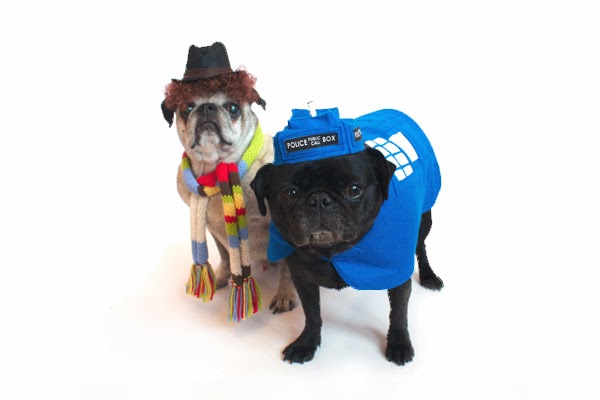
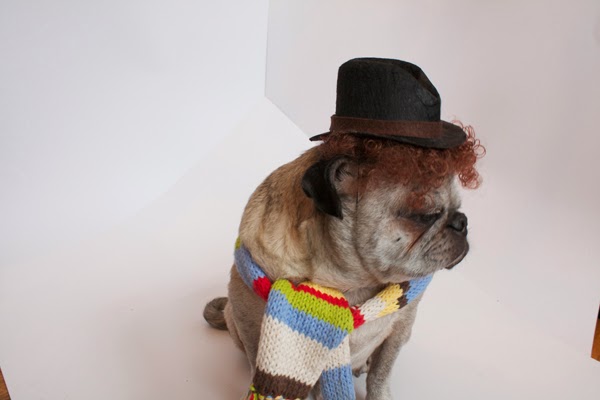
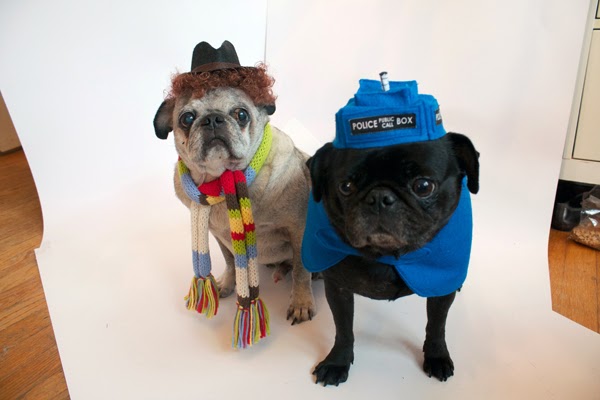
My last minute Halloween Costume
Theme :: What did the Fox say?
found some left over brown and white felt. Made some little fox ears and a tail. Added some fox makeup and a faux fur scarf. 20 minutes total for the look.
Happy Halloween everyone!


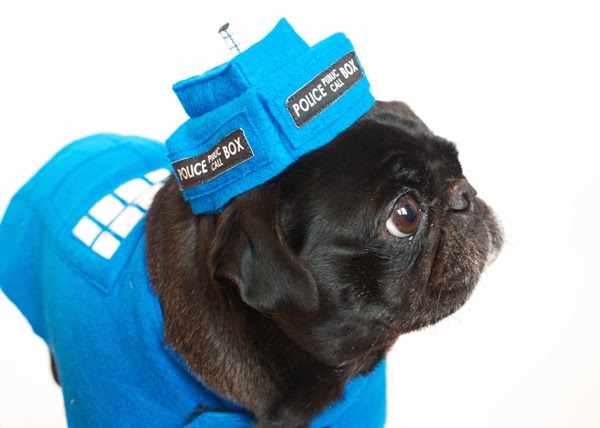
Check out 26 ways Pugs always win at Halloween and you can see them featured on Buzzfeed
pug out takes

1.26.2013

sunny window equals warm
Jack was having a wonderful time in the warm window light on Lucille :: retro sofa
1.19.2013

So far this January and with it almost being over with I haven't really kept to any of my 2013 resolutions. Most of them I kept to myself :: didn't tell anyone, didn't write them down so that's why I think I've slacked off.
OK here it goes and its never to late to start right.
My 2013 Stop Doing List
Stop sleeping with my iPad and to start reading a book before I go to bed. I'm totally addicted to my iPad. I've joined a lovely new book group on Goodreads Vintage Book Group to help with my nightly reading.
Stop going to work late - such a super bad habit I have.
Stop drinking soda 100% cut it out of my diet. Soda is the extra sugar that I don't need. Drink more water!
Stop wasting my time :: that's right :: my time. Keep a better schedule of what I want to accomplish this year and make it happen. This is your year and make it count!
Giveaway
Can you be addicted to planners :: well let's just say I am...
To help with every one's Stop Doing List 2013 I will be giving away a wonderful and very helpful calendar/planner to one lucky blog reader and follower.
Prize :: 16 month spiral bound Keep Calm & Carry On agenda calendar offers both weekly and monthly grids for maximum planning capability as well as pages for notes and references. It also features an elastic strap for closure and 3-month-at-a-glance mini grids.
Deadline :: The give-away contest runs January 19th through February 4th 2013 at midnight, EST.
To Enter :: Leave a comment about one thing your going to stop doing this 2013 and become a blog follower of Tissuepapers. The one winning comment will be chosen at random using random.org. Anonymous/Unknown comments not eligible. Open to US participants only !
1.03.2013

I created a brand new free printable for all to share :: all you have to do is print and cut out. Staple together the pages for your very own Pug Love Daily Adventure Todo List.

Want to be a sponsor on Tissupapers
I want your blog button. If you would like to be a blog sponsor here for free on Tissuepapers
send me your blog button
size: width 250 x height 125
questions email tissupapers@gmail.com
12.22.2012

Do you need a last minute handmade holiday gift - The Elle Tie-On Slippers - free pattern
Happy Holidays everyone!
12.20.2012
And the winner is
stregajewellry
I will contact you through the email provided
:: thanks so much for playing along everyone
Giveaway 2012
stregajewellry
I will contact you through the email provided
:: thanks so much for playing along everyone
Giveaway 2012
2012 has been a great and busy year! So I thought I would share with one lucky blog reader a collection of some of my 2012 favorite things that I've discovered this year!
Rules:
Here's the details on the giveaway! Value of prizes combined // $30.00 Leave a comment at this post by Wednesday, January 9th 2013 evening 9pm (Atlantic) - and I'll announce a winner by random on Thursday, Jan 10/13 Saturday 1.19.13. Anonymous/Unknown comments not eligible.
Good luck! Open to US participants only !
Thanks for playing along...
xoxo, Lisa
Want to be a sponsor on Tissupapers
I want your blog button. If you would like to be a blog sponsor here for free on Tissuepapers
send me your blog button
size: width 250 x height 125
questions email tissupapers@gmail.com
Subscribe to:
Posts
(Atom)

Participating in


affiliates

Popular Posts
-
 Here is a cute little pair of slippers that you can make. I was inspired by one of my favorite movie stars -Doris Day and designed thes...
 -
 Hello fellow crafters - Tissuepaper here - the following is a guest post from my friend Jewelfaerie.com - Enjoy! I love what she did with he...
 -
 I made this little number a couple of days ago and posted the how-to's on instructables . Here is a great way to turn an old towel int...
 -
 Ring in the old, ring in the new! Well here we go again! It's now that time to start thinking of a new beginning again. Dust off your r...
 -
 Does the sight of blood make you sick? Well here is a super easy recipe that you can make for your next Halloween party. Makes about...
 -
 This year I really wanted to create something really gruesome to serve at a friends Halloween party. I came up with this recipe that was in...